Getting started
atopile brings the best of software development to the world of hardware design.
We're starting with an electronics compiler and a new language called ato. Files with the .ato extension can be used to describe your circuit, and compiles it to netlists that can be laid out and fabricated.
The .ato files are human readable and can be version controlled, so you can collaborate with your team on the design of your hardware. They're modular, so you can reuse components from other projects, and share them with the community. They provide a way to save the intelligence of your design and the validation required to make sure it works as intended, so you can be confident that your design will work as expected.
Overview
-
Install tools: See the install section below.
-
Project Setup: For instructions on creating a new ato project from the command line, refer to ato create. Highly recommended to use GitHub to store and version your project.
-
Install Packages: For detailed instructions on finding and installing pre-made packages for your project, refer to the installation guide.
-
Circuit Design with Code: Hook up your circuit features using the expressive
atolanguage, transforming your design ideas into precise, codified representations. -
Version Control: Commit and merge your features using git, iterating through the design process by repeating the steps of adding features and refining your design.
-
Build and Export: Use
ato buildto compile your design into a netlist, which can then be imported into KiCAD for layout. -
Sync and Layout: Import netlist into the linked kicad project. Our packages installed from packages.atopile.io have a linked layout that you can reuse verbatim or as a known good starting point for your design. Layout reuse in atopile
-
Finalize and Order: Commit and merge your layout changes, then download the CI build of your design to order your custom PCB from JLCPCB.
Installation
To run atopile, you will need the atopile compiler, the VSCode extension for syntax highlighting and git credential manager.
atopile compiler - with pip recommended
atopile is published as a python package on pypi. You can install it using pip from your command line. We recommend setting up a virtual environment for atopile so that atopile's dependencies don't clash with the rest of your system.
Start by making sure you have python@3.11 or later installed on your machine.
How to install python 3.11 or later
To install python 3.11 or later, you can use brew
brew install python@3.11
once you create your venv, make sure to run:
python3.11 -m venv venv
Setup the venv:
Activate the venv:Now you can install atopile:
atopile should be installed. You can verify that it worked with the following command which should give you the current version of atopile.
Getting started with atopile - get setup and build your first project from scratch – 32m – We have a video of how to install atopile and setup your project here.
atopile compiler - with git
atopile can be directly installed from GitHub by cloning the repository into a subfolder of your project root. This could be useful if you want to use the latest version of atopile:
This will create a repository with the latest version of atopile. You can install it using pip:VSCode extension - extension store
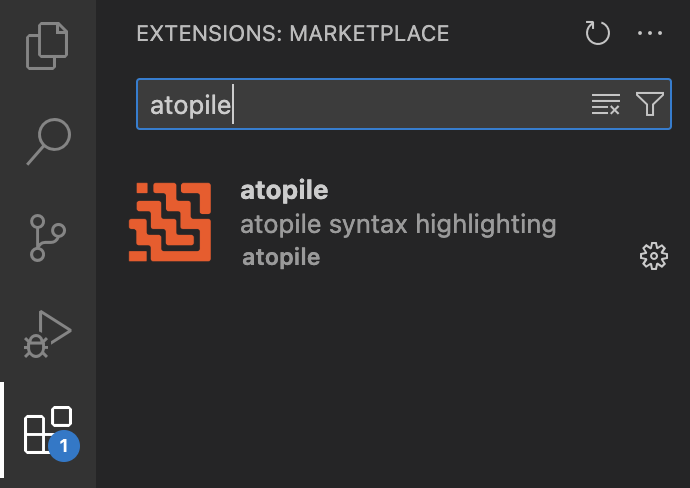
We recommend using VSCode to run atopile as it will provide syntax highlighting.
From VSCode, navigate to the VSCode extensions and install atopile.
Configuration
There's a small amount of one-time configuration required to get type-hints from the extension.
- Get the path to your python interpreter that has ato installed. This is usually in a virtual environment.
- You can find this by running
which pythonwhile your venv is activated. - Configure VSCode to use it!
Cmd + Shift + P(orCtrl + Shift + Pon Windows) to open the command palette- Type "Python: Select Interpreter" and select it
- If your venv isn't there, you can add it by selecting "Enter interpreter path" and pasting the path to your venv's python binary.
All together now!

Making a simple circuit
To get you started quickly, here is an example of a simple atopile circuit. See the rest of the documentation on how to fully use the atopile language features.
Let's build a voltage divider. Start by invoking ato create to create a new project.
Once created, open elec/src/your-project.ato and modify it in the following way:
from "generics/resistors.ato" import Resistor

module VoltageDivider:
    signal top
    signal out
    signal bottom

    r_top = new Resistor
    r_top.footprint = "R0402"
    r_top.value = 100kohm +/- 10%

    r_bottom = new Resistor
    r_bottom.footprint = "R0402"
    r_bottom.value = 200kohm +/- 10%

    top ~ r_top.p1; r_top.p2 ~ out
    out ~ r_bottom.p1; r_bottom.p2 ~ bottom
Now you can build this project and get a voltage divider!
Tip
The generics library should be installed by default in your-project/.ato/modules/generics directory. If not, run ato install generics